Posts

Showing posts from November, 2014

Openfiler permission problems with shares on MacOSX and Windows

Image
This morning, we encountered an incident with OpenFiler server. It is this: We have Mac users and Windows users (and some genius Linux users :D) but they are belonged to a same group name ABCD. We granted write permission for all users in the ABCD group. When a Mac user sharing a folder on the OpenFiler server, other users of the ABCD group suppose to have all permission on that folder, but nope, they cannot do anything except read. I investigated the folder with getfacl command: # getfacl /mac_users/shared_folder ... group::r-x ... As you can see, the group attribute lacks of write permission. I was googling around and found this article: http://www.maykinmedia.nl/blog/2009/aug/22/openfiler-permission-problems-share-macosx-windows/ That guy had exactly the same problem with us, and he gave a solution: Enable inherit_owner option of samba to avoid this issue in the future with new folders For the old folder, after you have enabled inherit_owner of samba, y

Google Apps Script - Using Google Script to create issues in Redmine via REST API

Image
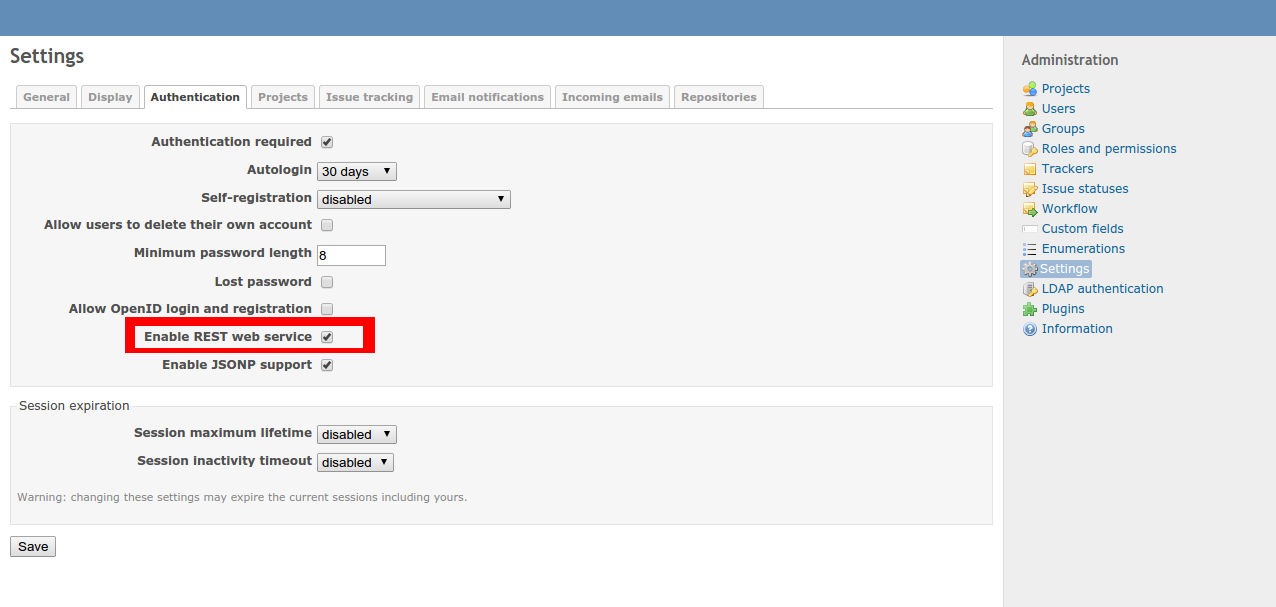
This is just another blog post about manipulating the Redmine's REST API. In the previous article , I showed you how to have fun with python-redmine, this time it comes Google Apps Script. You can use the following snippet to create issue in Redmine: Have more fun!

Google Apps Script - Send SMS when receiving an email in GMail

Image
So, you don't have Internet access but still want to be notified whenever someone special email you (GMail)? Here you go: Google Apps Script FTW. 1. In GMail, create a label name "Send SMS", then create a filter to apply that label to whichever messages you want. For example, every message coming from the email address my-love-one@gmail.com will be applied the "Send SMS" label. 2. Go to Google Apps Script , create a blank project, paste this script into the script editor: Every time the Gms_send_sms runs, it will get all email messages which have "Send SMS" label. Create an event in the Google Calendar for each message. Create an SMS notification for each of those events. Remove the label of those messages 3. In the script editor, select Resources menu >> Current project's triggers >> create a trigger to run the Gms_send_sms function every 5 minutes. You will need to grant permissions for the script to access your gmail

Using python-redmine to communicate with Redmine via Rest API

Image
I'm using Redmine , the opensourced Project Management system, as a support ticket system. The way it's working right now is: whenever someone needs help, she will send an email to helpme@mycompany.com. Then there is a ruby task (rake) runs every minute to pull emails from that address (via  IMAP ) and create a ticket (issue) in the helpdesk project in my Redmine server. But the thing is the Redmine's rake task can not create issue with category (Department A, Department B,...) based on the issue's content.  We can only specify the fixed category beforehand in the rake command: rake redmine:email:receive_imap RAILS_ENV="production" \\ host=imap.foo.bar username=redmine@somenet.foo password=xxx ssl=1 \\ project=foo \\ tracker=bug \\ allow_override=tracker,priority \\ category='Department A' So, I looked around and found that Redmine has REST API . It's even greater with python-redmine, a python library to help me

Google Apps Script - Part 3 - Send email with form after submitting google form (advanced)

Image
So, you now know how to send people email after submitting a google form ? How about including in that email a form required that person to answer some questions? And the data that she submit will be inserted back into the response spreadsheet of the original form. Yeah, another form, sounds like inception huh :D Here is a hack: 1. In the email template, include the form: <h2>Please respond to the reflection question(s) posed to you in the Teacher Feedback form</h2> <form action="http://localhost:8081/myform" method="POST"> <input type="hidden" name="rownumber" value="{{rownumber}}"> <div> <textarea name="q" style="width:90%;height:100px;"></textarea> </div> <div> <button type="submit">Submit</button> </div> </form> The form will look something like this in the email: N

Google Apps Script - Part 2 - Send email result to selected address after submitting google form (advanced, email with template)

Image
This blog post is an advanced topic of the previous article about sending email result to the selected address after submitting a google form. The advanced features are: The email address will be get from a separate sheet instead of choosing from the form. The email content will be get from a template which is also from a sheet instead of hard-coding into the script. 1. In the same spreadsheet of the responses sheet, create a new sheet name "emailaddresses". Fill in the name of a person in one column (A) and email address of that person in another column (B): Note: The names in column A need to be exactly the same with the names lists in the form. Check out the  getEmailByName  function in the script below for more detail. 2. In the same spreadsheet of the responses sheet, create a new sheet name "emailtemplate": * Create your email template in html form with placeholder where you will fill in the submitting result, for example: * Minify the template

Google Apps Script - Convert row data to dictionary

Converting a row data of a google spreadsheet to a dictionary is quite useful. Here is the snippet I wrote this morning: With the dictionary format, you can access column data of that row easily, for example: Logger.log(myDictData["username"]); Pretty neat huh? \m/

Google Apps Script - Get row number by cell value

Here is a Google Apps Script snippet I just wrote to manipulate Google spreadsheet data. It will return the row number by cell value:

Google Apps Script - Part 1 - Send email result to selected address after submitting google form (basic)

Image
So, you want to email someone (something like a feedback to that person) whenever you submitting the google form. Here you go, using this google apps script: 1. First, make sure you have already setup the responses spreadsheet and name it , for example: "sheet1" . Look for the spreadsheet ID in the URL. It's something like: '11BvY139qDAc06KxJrSUowCRwPNKVgNgSsPtmjQGhOPQ' 2. Insert a blank column at the end of the responses spreadsheet , e.g column AH ( 34 ). Enter this formula in the first row: = indirect ( "AG" & counta ( A1:A ) ) "AG" is the column contains email addresses. 3. From the google form edit windows, choose Tools >> Script editor... to open script editor window and input this function : 4. In the Script Editor windows, select Resources >> Current Project's Triggers >> Add a new trigger 5. Go to the live form, and try to submit. Cool!!! \m/

How to avoid "Models aren't loaded yet." error in Django 1.7

Today, I's trying to run a python script to manipulate my Django app's models and got this error: django.core.exceptions.AppRegistryNotReady: Models aren't loaded yet. The script used to work before I upgraded my Django project to version 1.7. I then go back to the Django1.7 documentations I found this instruction: https://docs.djangoproject.com/en/dev/releases/1.7/#standalone-scripts Standalone scripts If you’re using Django in a plain Python script — rather than a management command — and you rely on the DJANGO_SETTINGS_MODULE  environment variable, you must now explicitly initialize Django at the beginning of your script with: >>> import django >>> django . setup () Otherwise, you will hit an  AppRegistryNotReady  exception. So, I modified my script as following: #! /usr/bin/env python def setup_environment(): pathname = os.path.dirname(sys.argv[0]) sys.path.append(os.path.abspath(pathname)) sys.path.append(os.path.normpa

Install moodle 2.8 with nginx and php5-fpm in Ubuntu14.04

The latest version of Moodle (v2.8) had been released a couple days ago with some improvement especially the gradebook ( click here for more information). This blog post is about deploying a moodle instance along side with nginx and php5-fpm . 0. Create the database: $ mysql -u root p MariaDB [(none)]> create database moodle; MariaDB [(none)]> grant all privileges on moodledb.* to 'moodleuser'@'localhost' identified by 'moodlepassword'; 1. Clone the latest stable Moodle using git: $ cd /var/www $ sudo git clone --depth=1 -b MOODLE_28_STABLE --single-branch git://git.moodle.org/moodle.git  $ sudo chown www-data:www-data -R moodle $ sudo chmod -R 0777 moodle 2. Create the moodle data directory: $ sudo mkdir /var/www/moodledata $ sudo chown www-data:www-data -R /var/www/moodledata $ sudo chmod -R 0777 /var/www/moodledata 3. Setup nginx: $ sudo service nginx restart 4. Config php5-fpm: make sure the /etc/php5/fpm/php.ini: ...

Active Directory authentication in Django

In this article I showed you how to authenticate users of your Django apps against a LDAP server. It's quite easy with open-sourced software huh?! But, if your current infrastructure is built on a proprietary software like MS Active Directory, you will need an extra effort to plug in your Django projects. I will show you how. Read on! Here are the important settings for django-auth-ldap module you need to set: * USER SEARCH : AUTH_LDAP_USER_SEARCH = LDAPSearch("OU=All Users,DC=MYAD,DC=COM", ldap.SCOPE_SUBTREE, ' (SAMAccountName=%(user)s)' ) * GROUP SEARCH : # Set up the basic group parameters. AUTH_LDAP_GROUP_SEARCH = LDAPSearch("OU=User Groups,OU=All Users,DC=MYAD,DC=COM", \                     ldap.SCOPE_SUBTREE, "(objectClass=organizationalUnit)") , #!important! set group type AUTH_LDAP_GROUP_TYPE = NestedActiveDirectoryGroupType() * USER FLAGS : AUTH_LDAP_USER_FLAGS_BY_GROUP = {     "is_active": ["CN=Ad

Error when upgrading Wordpress from 3.4.2 to 4.0

Just a couple minutes ago I's trying to upgrade our "ancient" wordpress blog which is still running on a Ubuntu 10.04 server from version 3.4.2 to the latest version, 4.0. It wasn't that easy. This error showed up after I press the "Upgrade" button: The package could not be installed.: PCLZIP_ERR_BAD_FORMAT (-10)... What's up man? Okey, I did these following to fix that: 1. Make sure the wordpress directory has the correct owner: $ sudo chown -R www-data:www-data /var/www/wordpress 2. Then temporary change permission of the wordpress folder like following: $ sudo chmod 0755 -R /var/www/wordpress $ sudo chmod g+s -R /var/www/wordpress Then I ran the upgrade again. It worked like a charm!!! \m/\m/\m/ Note: remember to change the permissions back after you finish the upgrade (or you can use a security plugin to do it for you)

How to show the correct object numbers (counter) when using django-pagination

I'm using this template tag to output the order numbers of an object list in a for loop: {% for myobj in myobjlist %} {{ forloop.counter }} ... {% endfor %} But if I use pagination, the number will always start from 1 in a new page. Here is the trick to show the correct number: add to the counter (use zero index instead, counter0) the object index: {{ forloop.counter0|add:myobjlist.start_index }} Neat!

How to disable mouse scroll wheel zoom on embedded Google Maps?

To disable mouse scroll wheel zoom on embedded Google Maps, you just need to set the css property  pointer-events  of the iframe to none : <style> #mapcontainer iframe {     pointer-events:none; } </style> <div id="mapcontainer"> <iframe src="https://www.google.com/maps/embed?pb=!1m18!1m12!1m3!1d49558.05949043515!2d-94.820775!3d39.075070499999995!2m3!1f0!2f0!3f0!3m2!1i1024!2i768!4f13.1!3m3!1m2!1s0x87c08e065e054485%3A0xf8652fbc74a54de0!2sEdwardsville%2C+KS%2C+USA!5e0!3m2!1sen!2s!4v1415172721068" width="600" height="450" frameborder="0" style="border:0"></iframe> </div> Further more, you can use this jQuery snippet to toggle the pointer on/off: <script>         jQuery('#mapcontainer').toggle(function () {                 jQuery('#mapcontainer iframe').css("pointer-events", "auto");         }, function(){                 jQuery('#ma

Make html tables fixed size with css

My Djangp app output data like this in the template: {% for mydata in mydataset %} <table class="mytable">     <tr>           <th style="width=50%;">Column 1</th>           <th style="width=50%;">Column 2</th>     </tr> {% for data in mydata %}     <tr>           <td>{{ data.attr1 }}</td>           <td>{{ data.attr2 }}</td>     </tr>  {% endfor %} </table> {% endfor %} The thing is I want to make all my html tables keep a certain size even when the content inside the cells may vary. Here is the trick I'm using: table.mytable { table - layout : fixed ; }

Trying the Taiga project management platform

Image
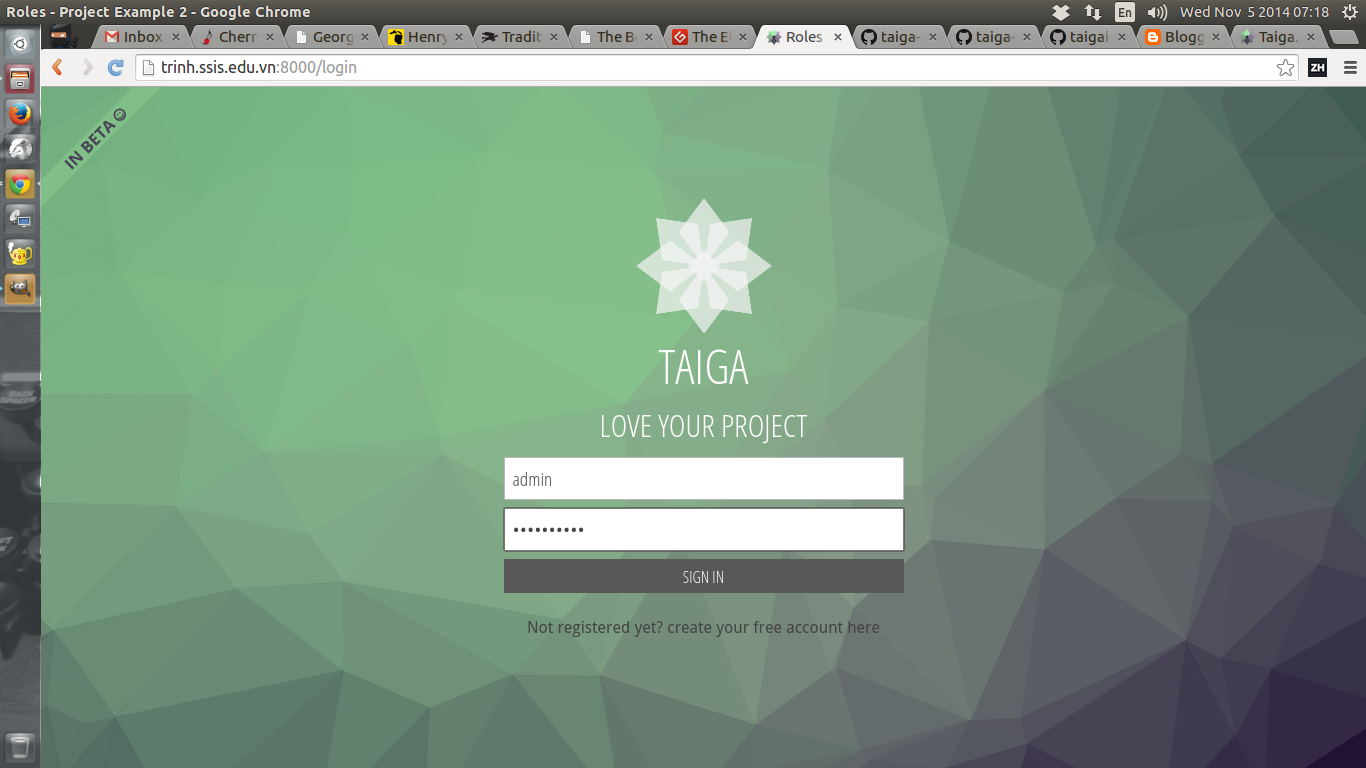
If you love Agile and looking for a tool to integrate that method into your org, you should try Taiga: https://taiga.io/ Taiga is an open-sourced project management platform based on Django and AngularJS which are both also open-sourced. It's really easy to get started with Taiga using vagrant thanks to the team: https://github.com/taigaio/taiga-vagrant All you have to do are (you need to have VirtualBox and Vagrant installed on your machine first): $ git clone https://github.com/taigaio/taiga-vagrant.git $ cd taiga-vagrant $ vagrant up After the provisioning is finished, you can access the platform by opening your browser, enter this address: http://localhost:8000 The default admin user is admin / 123123 If the vagrant provisioning does not process successfully, you can have a look at the script: https://github.com/taigaio/taiga-vagrant/blob/master/scripts/provision.sh The provision script will clone this taigao-scripts repo and run the setup-server.sh: